Cryptocurrency security fundamentally revolves around control of private keys — those secret codes that prove ownership of digital funds. When funds remain on exchanges or software wallets, private keys are often held by third parties, leaving your assets vulnerable to hacks, insider failures, or regulatory shutdowns. A hardware wallet like Trezor stores private keys offline inside a secure chip, significantly reducing exposure to online threats. Visiting Trezor.io/Start ensures you begin this process on an authentic platform, where the instructions, downloads, and firmware updates are verified by the manufacturer itself.
Using the official start page also protects you against phishing scams and fake setup portals designed to capture your recovery seed or trick you into installing malicious software. Always make sure you type the URL manually into your browser to confirm authenticity.
Before you visit the start page, gather the items and information you need:
Ensuring you have these ready before visiting Trezor.io/Start will make the process smooth and worry‑free.
Open your preferred desktop browser and carefully type “Trezor.io/start” into the address bar. This brings you to the official setup portal, where you will be guided through each phase of configuration. The page is designed to be straightforward, helping even crypto beginners follow along without confusion.
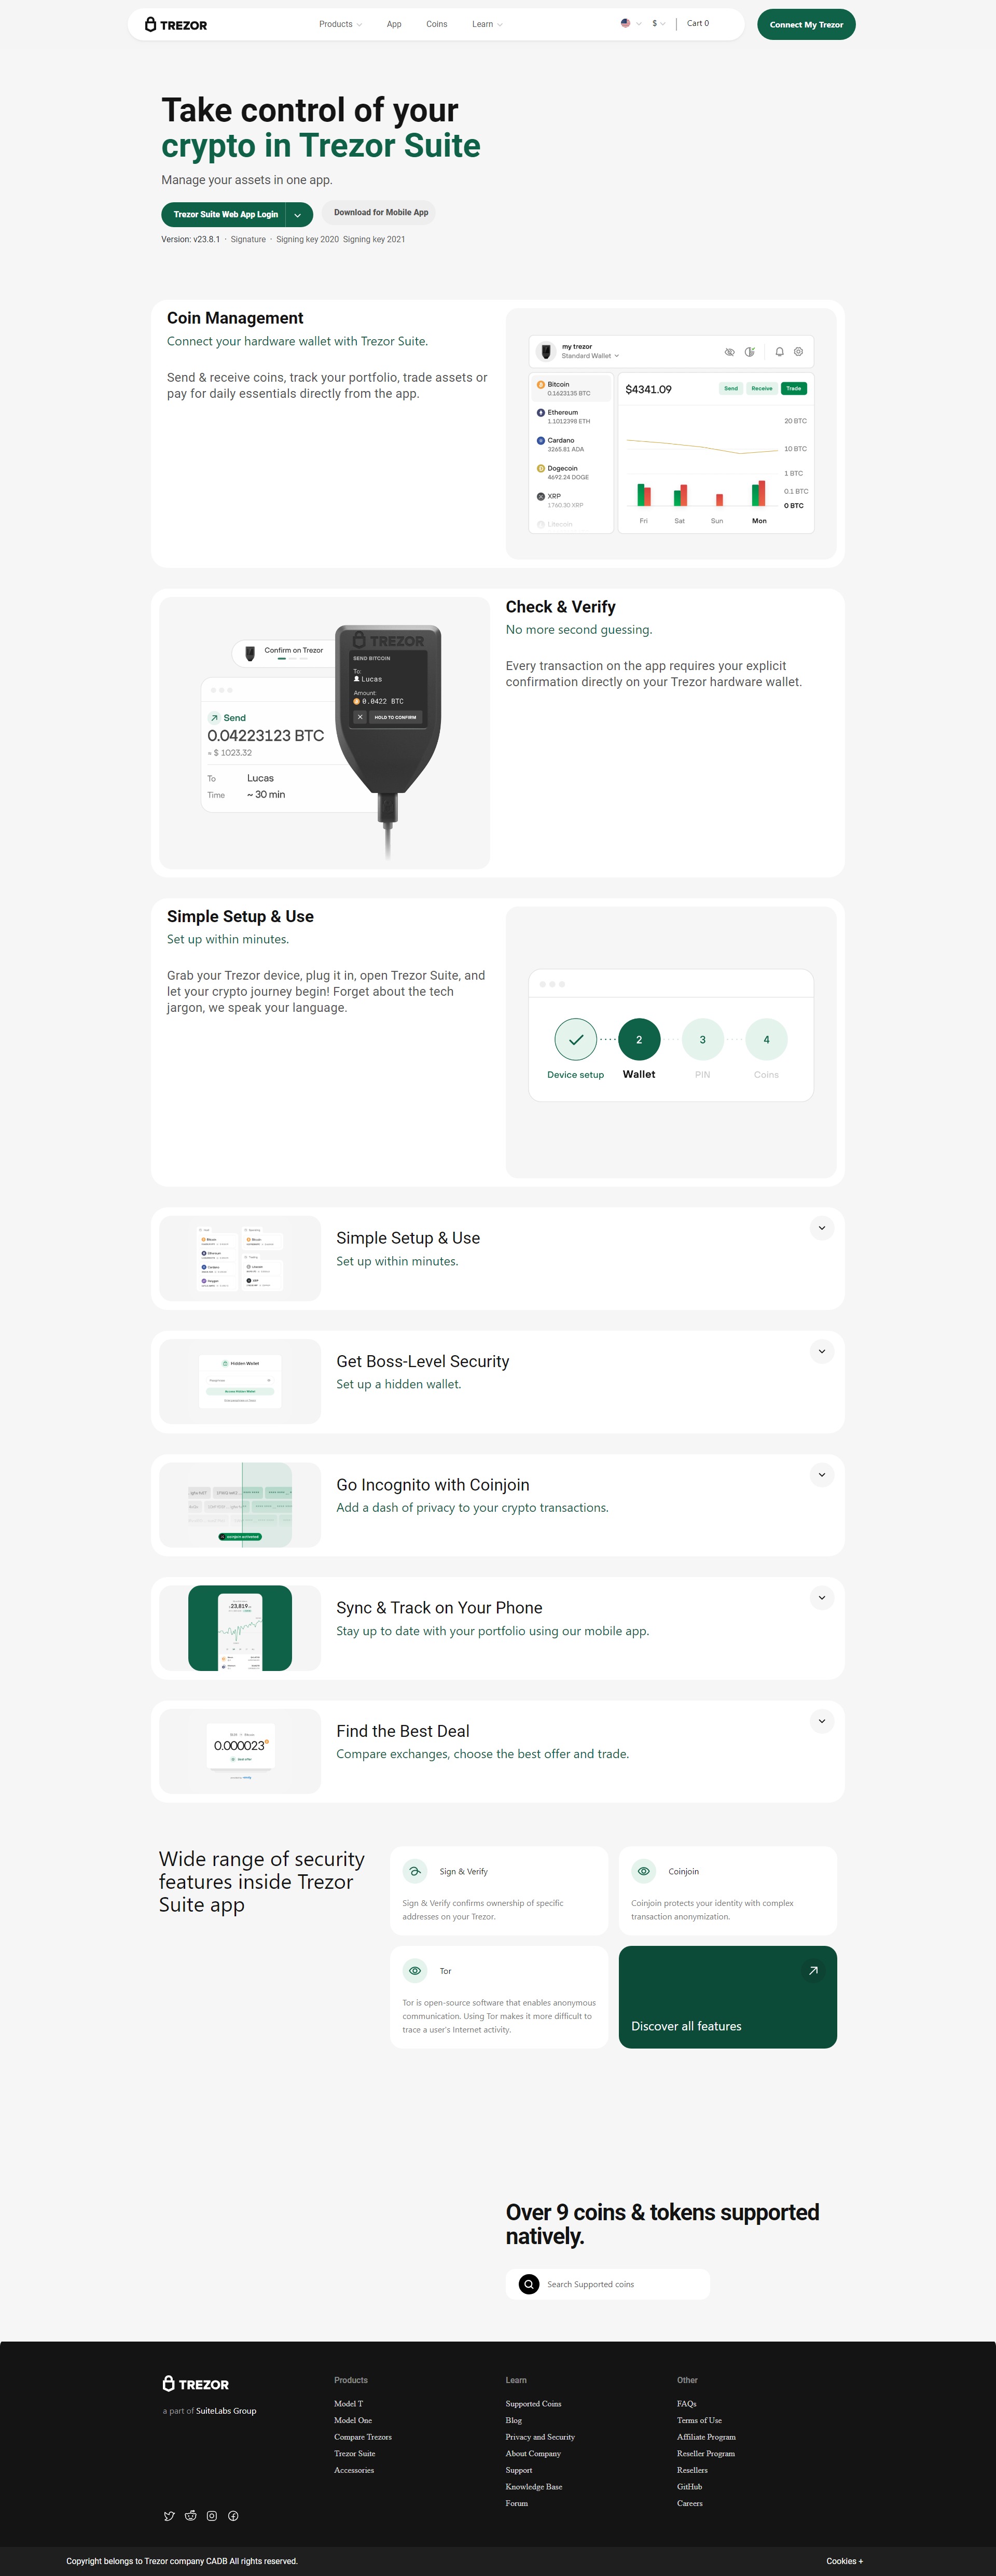
The first major step is downloading Trezor Suite, the companion software that allows you to manage wallets, account balances, and transactions securely. Trezor Suite is available as a desktop application for Windows, macOS, and Linux, but you can also continue with the web version if preferred.
Once installed, launch Trezor Suite and connect your hardware wallet via the USB cable. The software will automatically detect your device and initiate the setup sequence.
When a new Trezor device is connected for the first time, it is essential to install the latest firmware. Firmware is the low‑level software that runs inside the hardware wallet and ensures secure operation. The Trezor Suite guides you through downloading and installing the proper firmware version. Confirm that the firmware installation prompt comes exclusively from Trezor Suite and not from any other source to protect against counterfeit updates.
After firmware installation, you will be prompted to either create a new wallet or recover an existing one. For most first‑time users, choosing Create new wallet is appropriate.
Creating a new wallet initiates the generation of a recovery seed — a list of 12, 18, or 24 words generated by the hardware wallet itself. This seed is the only backup that enables you to recover your crypto assets should your device be lost, damaged, or stolen.
Writing down your recovery seed is one of the most critical steps in the entire setup process. Always write the words in the exact order the device displays them, and use the provided recovery cards. Do not take photos, screenshots, or store these words digitally — doing so can expose your seed to hacks and malware. Keep them offline and secure, ideally in a fireproof or waterproof safe.
The next security layer is choosing a PIN code that will protect your hardware wallet from unauthorized physical access. Trezor Suite prompts you to set this PIN, which you will need every time you connect your device. A strong PIN should avoid predictable sequences or simple combinations to maximize security.
Once setup is complete, Trezor Suite becomes your portal for daily crypto management. Within Trezor Suite, you can:
Every transaction you authorize must be physically confirmed on your Trezor device, ensuring your private keys never leave the secure hardware environment.
Trezor.io/Start serves as a comprehensive, secure, and user‑friendly initiation point for anyone setting up a Trezor hardware wallet. By directing you to download authentic software, guiding you through setup steps, and emphasizing best security practices, it ensures that your journey into owning and managing cryptocurrencies begins on the right foot.
Proper setup isn’t just a technical requirement — it’s a foundational layer of protecting your digital financial independence in a space where self‑custody matters.